Driving during a heavy downpour can be one of the most stressful experiences for a motorist if your visibility is compromised. We often focus on the rubber blades that glide across the glass, but the unsung hero of this operation is the windshield wiper arm. This mechanical component is responsible for applying the necessary pressure to keep your blades in contact with the glass, ensuring a clear view of the road ahead. When this part begins to fail, you might notice streaking, chattering, or a complete loss of contact, which can significantly jeopardize your safety during inclement weather.
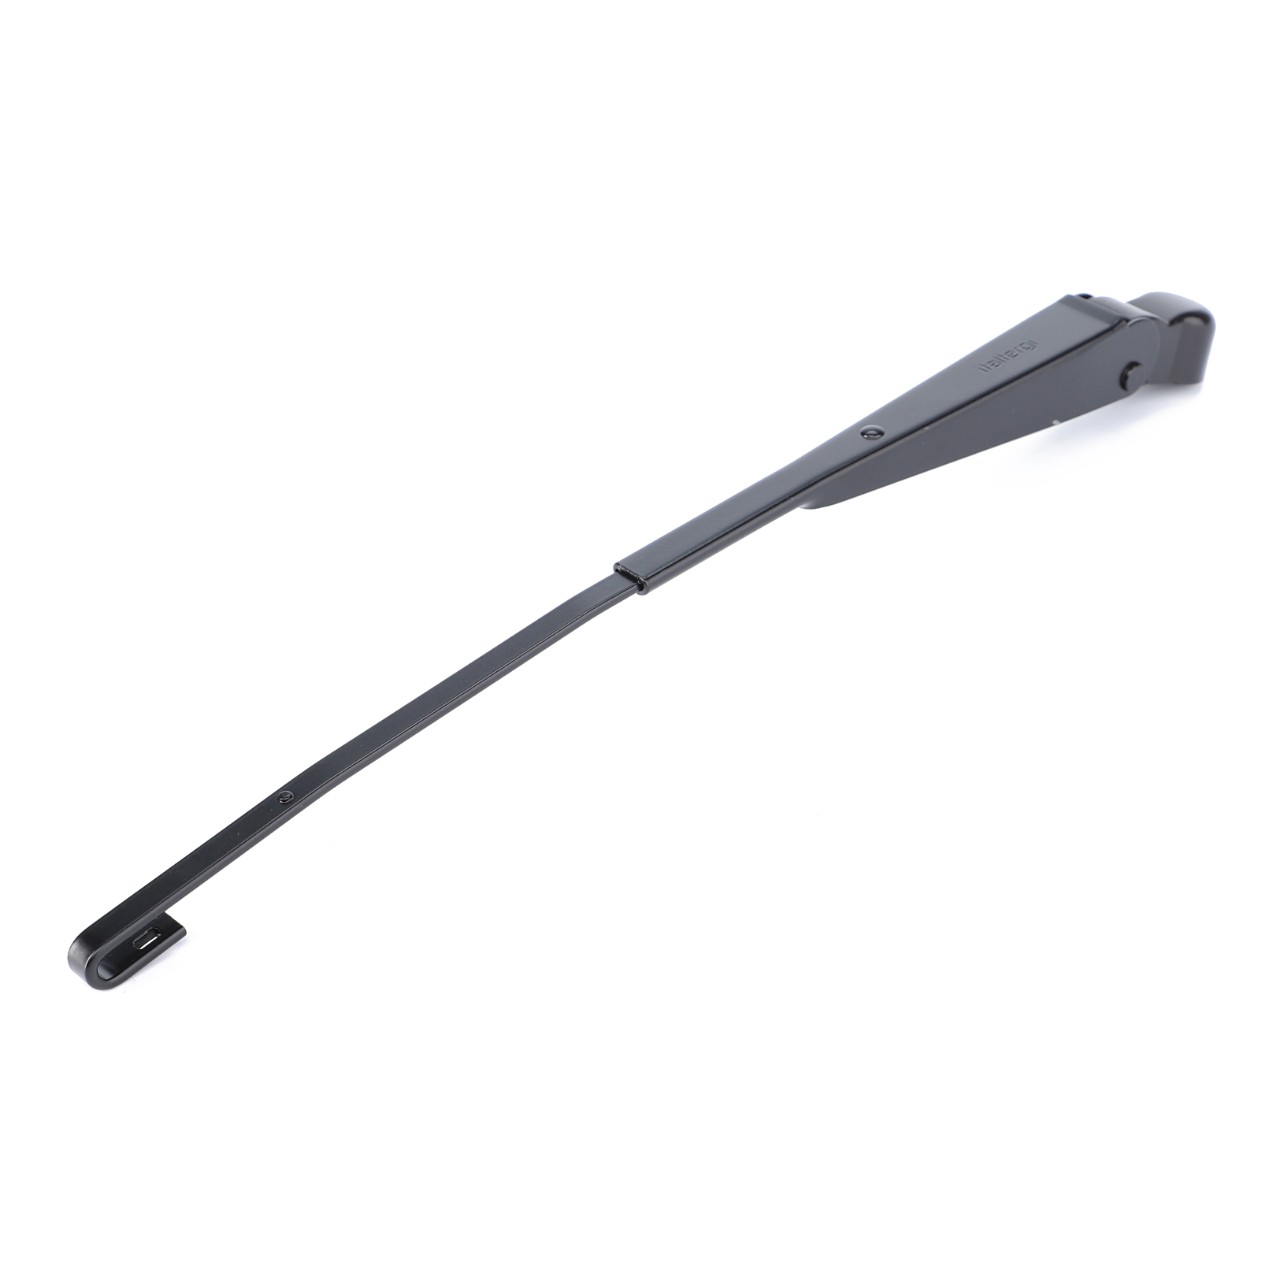
Understanding the Role of the Windshield Wiper Arm
The windshield wiper arm serves as the bridge between the wiper motor and the actual rubber blade. It is a rigid metal or high-density plastic component designed to withstand constant tension. Its primary function is to maintain constant, even pressure across the surface of the windshield as the wiper motor moves the blade in an arc. Over time, the internal spring mechanism within the arm can lose its tension, or the pivot point can become corroded, leading to ineffective cleaning cycles.
Several factors contribute to the degradation of these components, including:
- Harsh Weather Conditions: Extreme heat can weaken plastic housings, while freezing temperatures can cause metal components to seize.
- Debris Buildup: Dust, grit, and road salt can accumulate at the pivot point, causing friction and eventual failure.
- Mechanical Stress: Operating wipers on a dry or iced-over windshield puts immense strain on the arm's motor connection.
Signs Your Wiper Arm Needs Inspection
Knowing when to address a failing component is vital for vehicle maintenance. You do not always need a mechanic to identify these issues; often, simple observation is enough. Look for the following symptoms during your next drive:
- Streaking or Missed Spots: If your blade is new but still leaves large swaths of water behind, the arm likely isn't applying enough pressure.
- Chattering Noises: A vibrating or jumping sound usually indicates that the arm is not holding the blade at the correct angle against the glass.
- Loose Movement: If you can manually move the arm back and forth with excessive play, the mounting bolt or the splines (the grooved gear teeth) may be stripped.
- Visible Corrosion: Rust around the mounting nut or pivot hinge suggests that moisture has infiltrated the moving parts.
Comparing Wiper Issues: Blade vs. Arm
Distinguishing between a faulty blade and a faulty windshield wiper arm is crucial to avoid wasting money on the wrong parts. The following table highlights the key differences in symptoms.
| Symptom | Likely Culprit | Recommended Action |
|---|---|---|
| Smearing/Streaking (General) | Worn Rubber Blade | Replace wiper blade |
| Inconsistent pressure at specific points | Worn Arm Spring | Replace or tighten arm |
| Arm moves, but blade stays stationary | Stripped Splines/Nut | Tighten or replace arm |
| Wiper hits the frame or cowl | Misaligned Arm | Adjust arm position |
How to Replace a Windshield Wiper Arm
If you have determined that your windshield wiper arm is the source of the problem, you can often perform the replacement yourself with a few basic tools. Always consult your vehicle's service manual to ensure you follow the specific torque requirements and safety protocols for your model.
Tools Required:
- Socket wrench set
- Wiper arm puller (optional but recommended)
- Penetrating oil (for corroded bolts)
- Replacement arm
Step-by-Step Replacement:
- Preparation: Turn off the engine and ensure the wipers are in their parked position. Place a towel over the base of the windshield to prevent scratches if the tool slips.
- Access the Nut: Lift the plastic cap at the base of the arm to reveal the mounting nut. If it appears rusted, apply a small amount of penetrating oil and let it sit for a few minutes.
- Remove the Nut: Use your socket wrench to remove the nut holding the arm to the wiper shaft.
- Detach the Arm: Gently lift the arm away from the glass. If it is stuck, use a wiper arm puller to release it from the splines. Avoid pulling too hard, as this can damage the wiper motor assembly.
- Install the New Arm: Align the new windshield wiper arm with the splines, ensuring it is positioned exactly where the original one sat.
- Secure and Test: Replace the nut and tighten it securely. Test the movement while the windshield is wet to ensure the alignment is correct.
💡 Note: Always ensure the ignition is completely off before working on the wiper assembly. Some modern vehicles have a "service mode" that must be activated via the dashboard menu to move the wipers into a position where they can be lifted safely.
Maintenance Tips for Longevity
To extend the life of your new windshield wiper arm, consistency is key. Proper maintenance prevents the buildup of road grime and ensures that the tension spring remains effective for as long as possible. During your regular car wash routine, lift the arms gently and wipe the underside and the pivot points with a clean cloth. If you live in an area with heavy snow, remember to lift your wipers away from the glass when parking overnight to prevent them from freezing to the windshield, which can cause internal damage to the arm assembly when the motor is engaged.
Checking the alignment periodically is also a smart habit. If the arms appear to be hitting each other or extending beyond the edge of the glass, a simple adjustment can prevent mechanical strain and ensure that your wiper motor lasts for the life of the vehicle. By taking these small, proactive steps, you can ensure that your visibility remains crystal clear, no matter what the weather forecast has in store. Investing a little time into the care of your wiper hardware pays dividends in safety, performance, and peace of mind during your daily commute.
Keeping your vehicle in top condition requires attention to every detail, and the performance of your wiper system is no exception. By recognizing the early warning signs of a failing arm and performing timely replacements, you prevent the frustration of impaired visibility during critical moments on the road. Whether you choose to handle the maintenance yourself or seek professional assistance, understanding the mechanical relationship between the motor, the arm, and the blade empowers you to make informed decisions. Remember that quality parts and routine care are the foundation of a reliable driving experience, helping you navigate through rain, snow, and everything in between with confidence and clarity.
Related Terms:
- windscreen wiper arm replacement
- replace windshield wiper arm
- windshield wiper arm removal instructions
- wiper arm catalog
- rear windshield wiper arm replacement
- trico wiper arm catalog