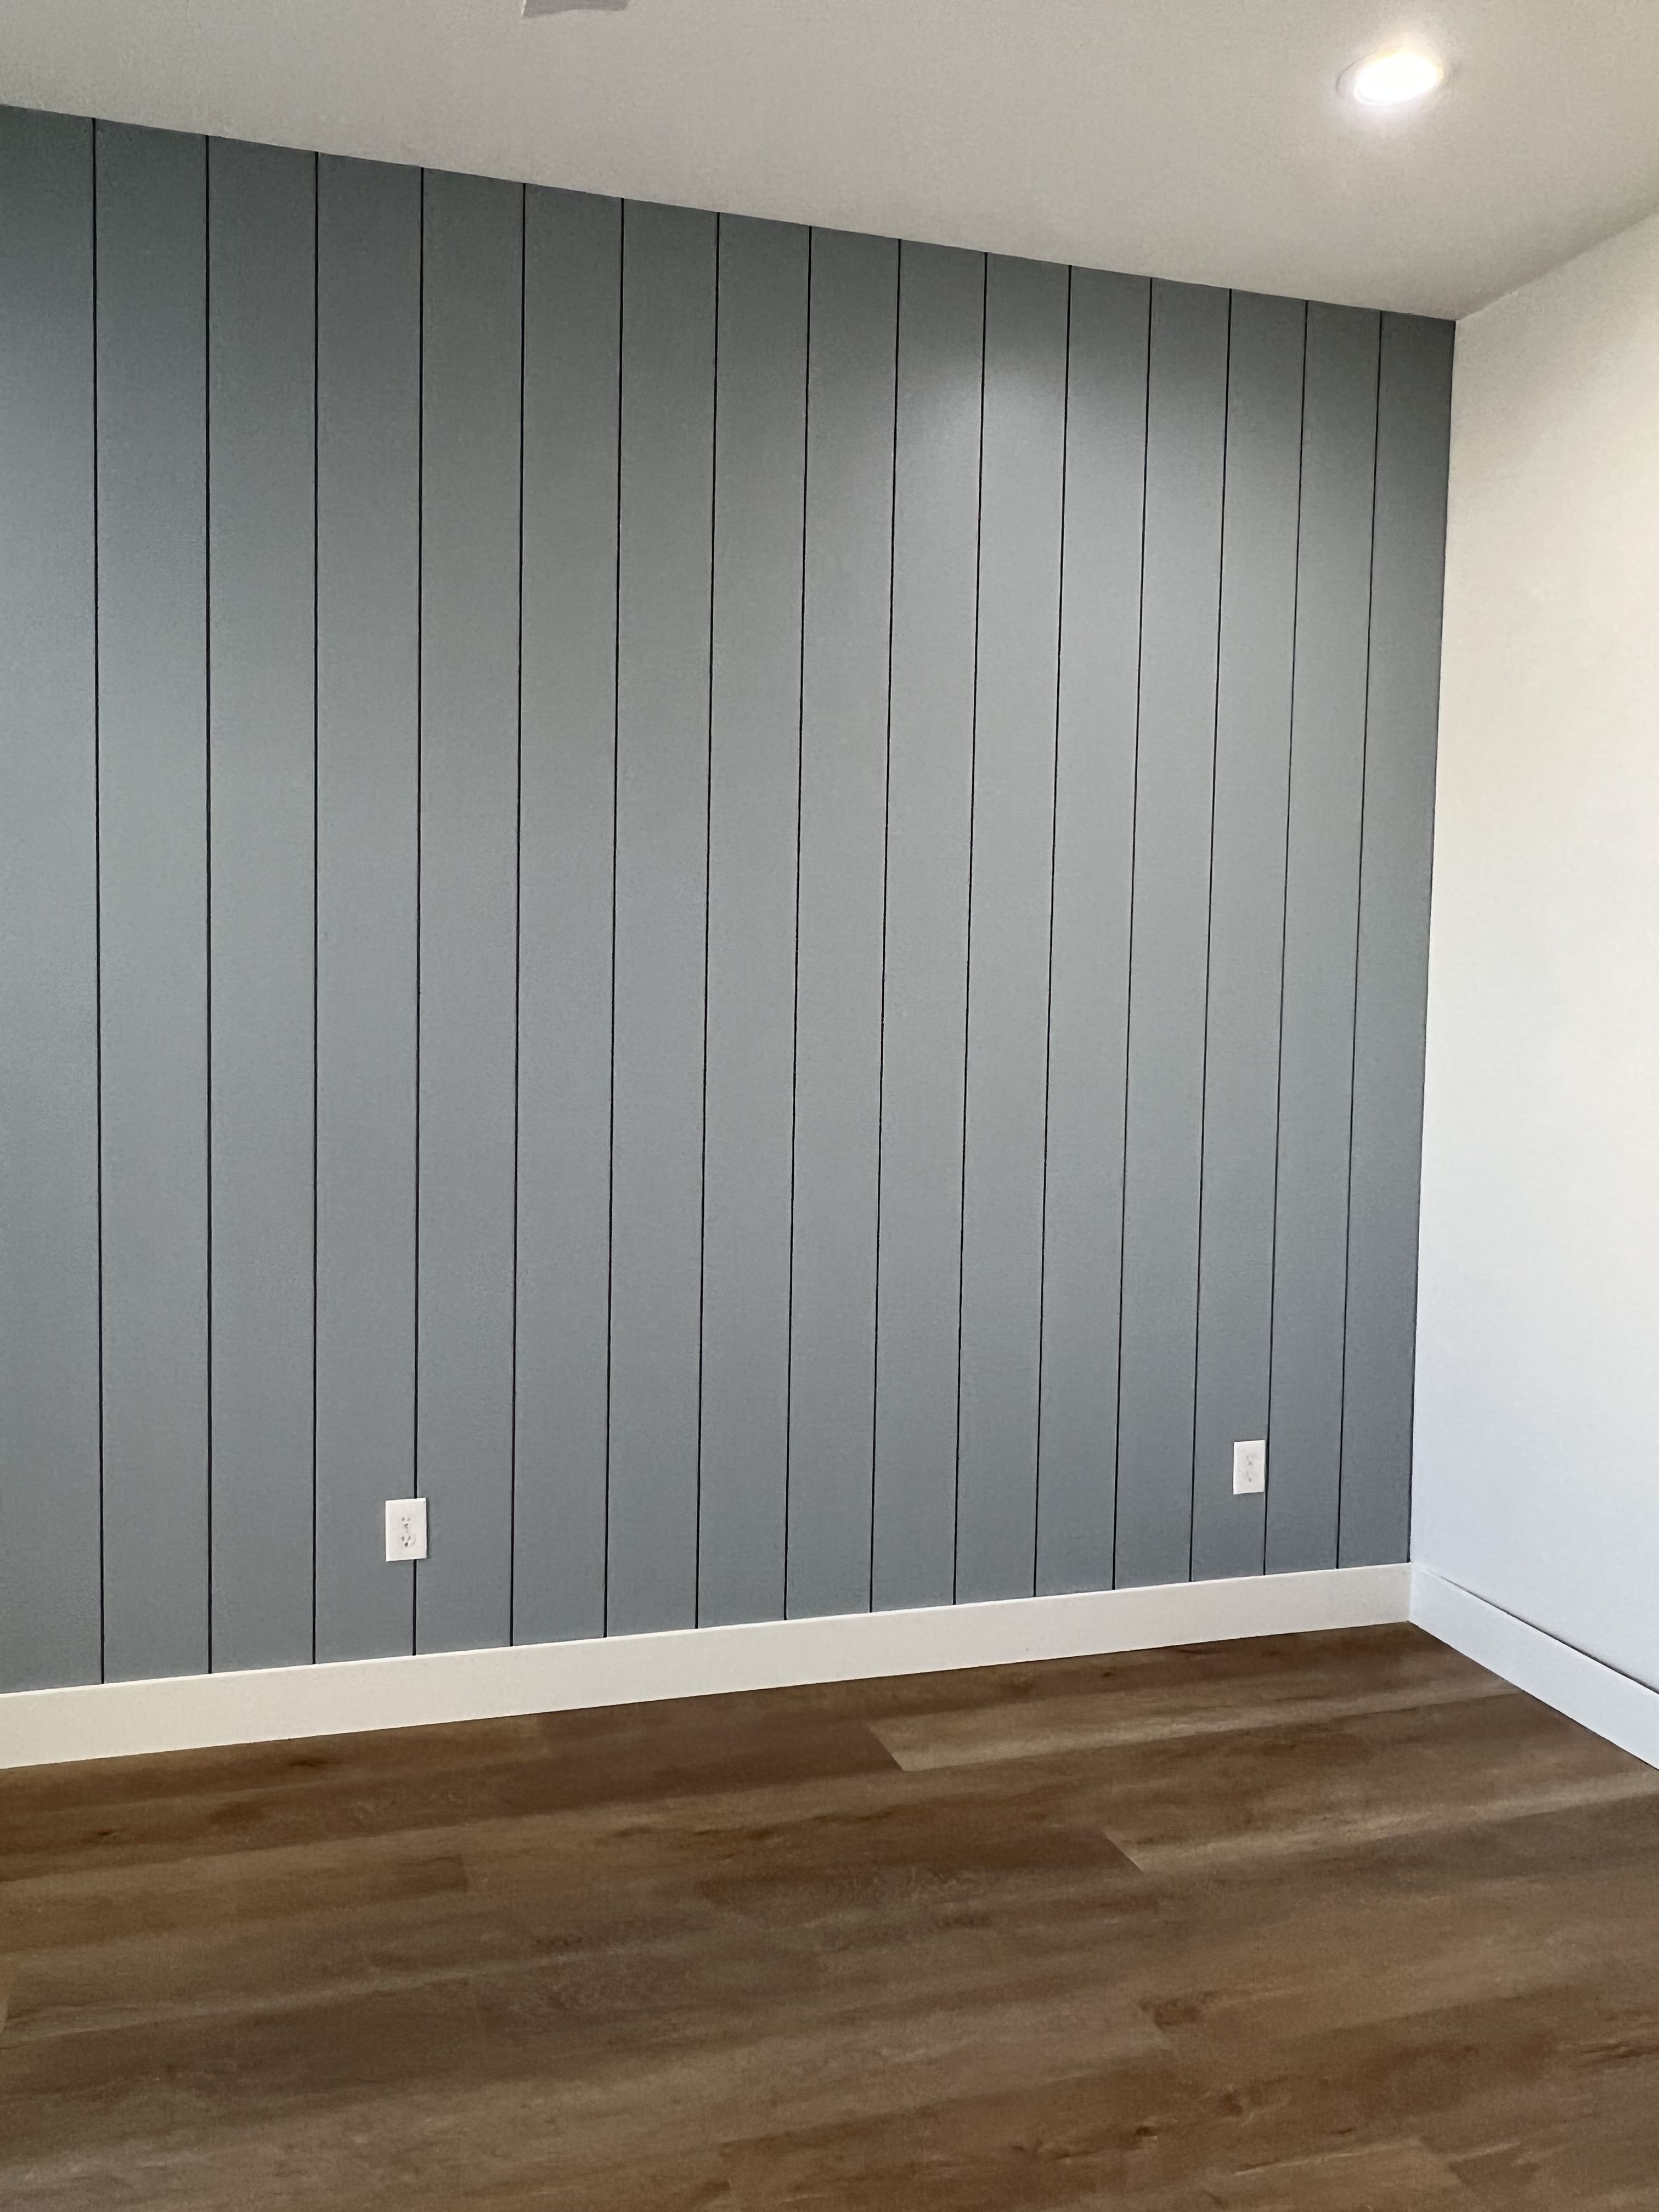
If you are looking for a way to transform a dull, flat wall into a stunning architectural characteristic, appear no farther than upright shiplap. While horizontal shiplap has dominated the farmhouse design trends for years, the upright orientation is rapidly gain popularity as a advanced, modern choice. By switch the way of the board, you now create a optical illusion of height, do your ceilings look taller and your room find more expansive. This various design element work in virtually any room, from the cosy atmosphere of a chamber to the high-traffic country of a hallway or living way.
Why Choose Vertical Shiplap for Your Home?
The decision to install vertical shiplap is ofttimes driven by both aesthetic preference and structural want. Unlike its horizontal vis-a-vis, which can sometimes make a room feel boxlike or closed-in, erect line line the eye upward. This simple psychological trick is a game-changer for domicile with standard eight-foot ceilings. Moreover, upright planks offer a cleaner, more flowing appearance that complement everything from Norse reductivism to modern industrial decor.
Regard these main reward of take this design style:
- Optical Height: The uninterrupted lines stretch walls, making the infinite feel more open.
- Versatility: It pairs attractively with various textures, such as velvet furniture, raw woods accents, or silklike metal fixtures.
- Strength: High-quality shiplap serves as an extra stratum of protection for your wallboard against nick and scratches.
- Style Longevity: While it is voguish, the clean lines ensure it remains a timeless addition to your home's architecture.
Planning Your Installation
Before you run to the lumber yard, it is essential to mensurate your infinite accurately and project your layout. Because vertical shiplap relies on straight, perfectly plumb line, yet a small mistake at the beginning can intensify as you work across the paries. You will involve to settle if you want the board to go all the way to the ceiling or stop at a chairman rail elevation for a wainscoting effect.
| Tool/Material | Purpose |
|---|---|
| Shiplap Boards | The primary paries covering fabric |
| Stud Finder | Ensures the boards are ground into solid framing |
| Stage | Guarantees a absolutely straight upright installation |
| Brad Nailer | Fastens boards securely to the paries |
| Caulk and Wood Filler | Provides a seamless, professional conclusion |
Step-by-Step Installation Guide
Installing upright shiplap is a achievable labor for most DIY enthusiasts, furnish you have the rightfield tools and patience. Follow these stairs to attain a professional-grade expression.
Step 1: Planning
First by take your mopboard and any outlet cover. Ensure the paries is clear and flat. If you have significant protuberance in your wallboard, you may desire to sand them down to ensure the boards lay blush.
Step 2: Scoring Studs
Apply a macho-man spotter, locate and score all the studs on your wall. Since you are establish boards vertically, you will probably be fix through the boards into the studs at multiple points along their duration.
Footstep 3: Starting the First Board
Begin at the least seeable nook of the way. Use a level to ensure your very foremost plank is absolutely perpendicular. If the nook of your paries is slimly crooked, you may need to scribe the plank to fit. If the first plank is off, every subsequent plank will also be crooked.
Step 4: Secure the Boards
Apply a bead of construction adhesive to the rear of the board and insistency it against the wall. Use your brad nailer to fix the plank into the rivet. As you travel to the next board, fit the tongue and furrow together. Check your point every 3 to 4 board to secure you haven't ramble off-center.
Footstep 5: Finish Touches
Erstwhile all board are establish, fill the nail holes with forest filler. Use paintable caulk along the boundary where the shiplap meet nook or ceilings to create a unclouded, finished appearing. Erstwhile dry, backbone lightly and apply your chosen paint coloration.
💡 Note: Always account for "width variance". Even with manufactured shiplap, minor conflict in board width can gather over a long wall. Check your space sporadically to avoid a bombastic gap at the final nook.
Choosing the Right Finish
The colour and end you choose for your vertical shiplap will order the modality of the room. A crisp, bright white paint provides a fresh, coastal, or farmhouse vibe. If you prefer something moodier, deal painting the boards a deep fusain, navy, or even black. This can make a spectacular focal point in a dining room or a cosy, intimate feel in a bedroom. Don't be afraid to leave the wood natural; staining the shiplap adds heat and wreak an organic, rustic texture to a space that might otherwise feel too sterile.
Maintaining Your Shiplap Walls
One of the best things about vertical shiplap is its low maintenance requirements. Because the boards are generally durable, they maintain up well to the protuberance and contusion of daily life. To maintain your wall looking pristine, but dust them occasionally with a microfiber cloth or a vacuum attachment. If you have paint them with a semi-gloss or satin close, you can easily wipe away fingerprints or smirch with a damp cloth. For homes with pets or children, upright shiplap is oft superior to paper or delicate pigment, as it cover minor wearable and bust exceptionally good.
💡 Note: When picture, use a high-quality priming before utilize your topcoat, especially if you are using raw wood board. This prevent knots from bleeding through and control a smooth, yet finish.
Incorporating erect shiplap into your habitation interior is a highly efficacious way to elevate your design game. By drawing the eye upward and add a bed of architectural depth, you can transform small or average spaces into opulent, designer-worthy suite. Whether you select a dramatic iniquity hue or a unclouded, classic white, the texture and character furnish by this simple facility will doubtlessly do a durable encroachment. As you plan your next home improvement project, view the transformative potential of perpendicular forest panel to make a infinite that feel both modern and deeply tempt.