Mastering basic arithmetic operations is the foundation of becoming proficient in spreadsheet software, and division in Excel is one of the most fundamental skills you will need. Whether you are calculating unit costs, determining percentage distributions, or simply analyzing raw data, Excel offers several efficient ways to perform division. Unlike some other spreadsheet functions that require complex formulas, dividing numbers in Excel is straightforward once you understand the basic syntax and operator rules.
The Basic Division Formula in Excel
To perform simple division in Excel, you use the forward slash (/) as the arithmetic operator. Unlike other software that might use a specialized “DIVIDE” function, Excel relies on this standard symbol to signify division. The formula always begins with an equals sign (=), followed by the dividend (the number you want to divide) and the divisor (the number you are dividing by).
For example, to divide 100 by 5, you would type the following into any cell:
=100/5
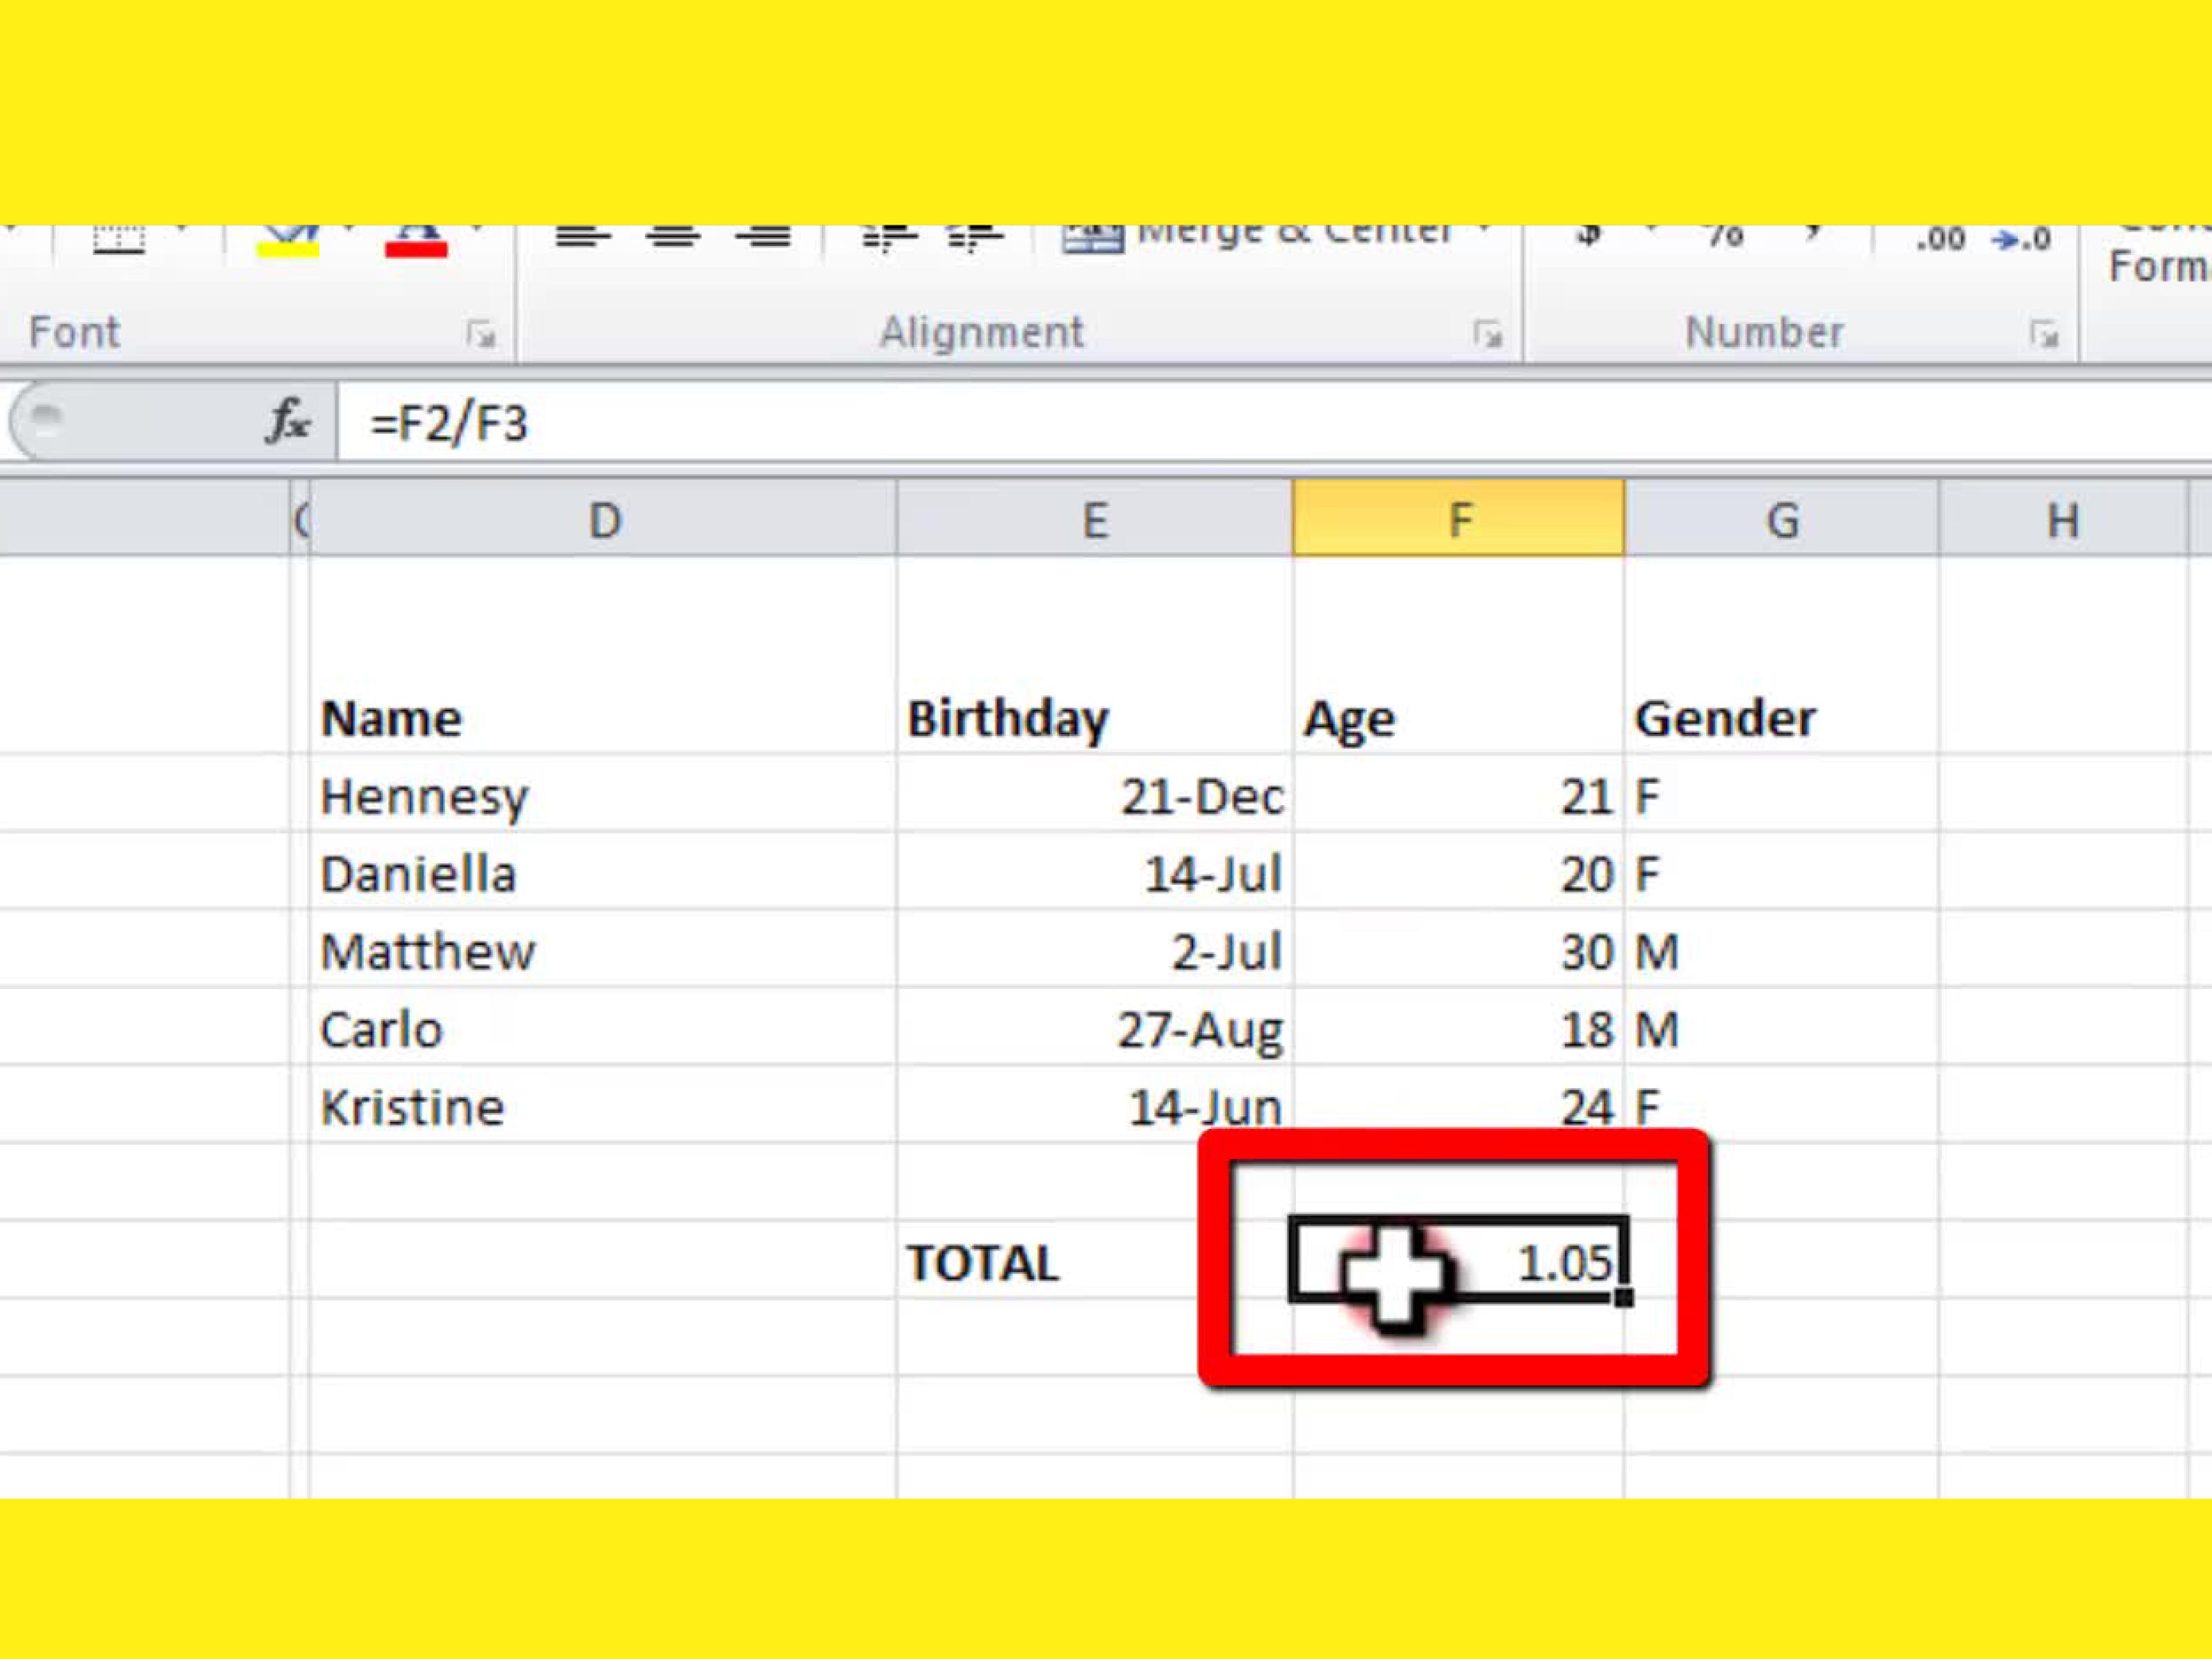
Once you press Enter, Excel automatically computes the result and displays 20 in the cell. If you want to perform division using cell references—which is the most common practice in professional data analysis—you would simply click on the cells containing your values. For instance, if your dividend is in cell A1 and your divisor is in cell B1, the formula would look like this:
=A1/B1
💡 Note: Always ensure that your divisor (the cell being divided by) does not contain a zero or is not empty, as this will trigger the #DIV/0! error in Excel.
How to Divide an Entire Column
When working with large datasets, you rarely need to divide just two specific cells. Usually, you need to apply the same calculation across an entire list of data. Manually typing a formula for every single row is inefficient and prone to errors. Instead, you can use the Fill Handle to apply your division logic instantly.
- Enter your formula in the first cell (e.g., =A2/B2).
- Hover your cursor over the bottom-right corner of that cell until the cursor turns into a small, thin black plus sign (+).
- Click and drag the handle down to the last row of your data, or simply double-click the handle to auto-fill the formula down to the end of the column.
Handling Division with Constants
Sometimes, you may need to divide every value in a list by a specific, unchanging number—such as dividing total sales by a fixed tax rate or a conversion constant. In this scenario, using a cell reference alone might cause errors if you drag the formula, as Excel will increment both cells.
To lock a cell reference so it remains constant, you must use absolute references by adding dollar signs (</strong>) before the column letter and row number (e.g., <strong>C$1). This tells Excel to keep the reference fixed regardless of where the formula is copied.
| Scenario | Formula Example | Description |
|---|---|---|
| Basic Division | =A2/B2 | Divides values in specific cells. |
| Dividing by a Constant | =A2/$C$1 | Divides A2 by the fixed value in C1. |
| Division with SUM | =SUM(A2:A10)/B2 | Divides the total of a range by one value. |
Common Errors When Dividing in Excel
Even for experienced users, division in Excel can sometimes lead to unexpected results if the data isn’t structured correctly. The most frequent issue is the #DIV/0! error. This happens when you try to divide a number by zero or an empty cell. If your dataset contains blanks, you can use the IFERROR function to clean up your workspace.
By using the formula =IFERROR(A2/B2, 0), you instruct Excel to perform the division as normal, but if an error occurs (such as division by zero), it will return a zero or a custom text string instead of the ugly error code. This makes your reports look professional and prevents calculation breaks in complex spreadsheets.
💡 Note: The IFERROR function is a best practice for financial modeling, as it ensures your total calculations remain accurate even when individual input cells are pending data entry.
Best Practices for Accurate Results
To ensure your division calculations remain accurate, keep these tips in mind:
- Check Cell Formatting: Sometimes, the result of a division might look like a whole number when it is actually a decimal. Ensure your cells are formatted to “Number” with the appropriate number of decimal places.
- Use Parentheses for Order of Operations: If your formula includes multiple arithmetic operations, remember that Excel follows the PEMDAS order. If you need a sum to be divided by a value, you must wrap the sum in parentheses, e.g., =(A1+A2+A3)/B1.
- Avoid Hard-Coding Numbers: Whenever possible, reference cells that contain your numbers rather than typing the numbers directly into the formula. This makes your spreadsheet dynamic and easier to update later.
Mastering division within Excel is a major step toward becoming proficient with data management. By moving beyond basic cell division and utilizing absolute references, the fill handle, and error-handling functions like IFERROR, you can handle complex datasets with confidence. Whether you are performing simple math or building advanced financial models, these techniques serve as the backbone for accurate analysis. Practice these methods with your own data to see how much faster and more reliable your spreadsheet workflows can become. With these tools at your disposal, you will find that manipulating numerical data is not only easier but significantly more efficient, allowing you to focus on interpreting your results rather than struggling with basic arithmetic tasks.
Related Terms:
- dividing in excel
- division in excel sheet
- command for division in excel
- division in excel symbol
- subtraction in excel
- division formula in excel